
Making a DIY equestrian themed shadowbox is an easy way to show off your keepsakes and make sure they’re safe and protected. A few easy steps, and you can make one (or more) of your own.
Step 1. Collect Memorabilia.
Below are two theme ideas for your shadowbox.
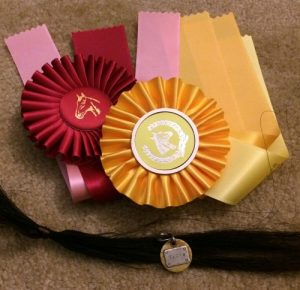
Your horse:
Bridle Tag
Hair Clipping
Ribbons/Medals/Buckles/Etc.
Show Programs
Photos
Horse Shoe
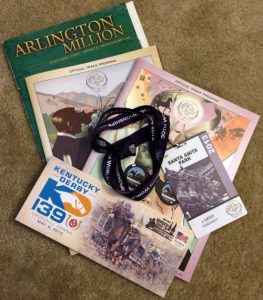
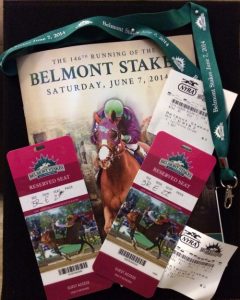
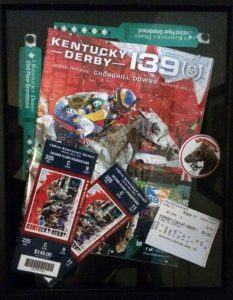
Events (like large horse shows or horse races):
Programs
Tickets/Admission Badges
Buttons/Pins
Betting Tickets
Autographs
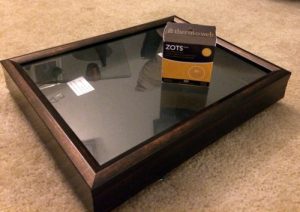
Step 2. Purchase appropriately sized Shadowbox(s) and attachment materials.
These are available online, at frame shops and at many hobby stores (like Micheals). I usually purchase these at Micheals since there’s almost always a 40% off one item coupon available and they have a good selection of sizes and colors. You can also buy double sided tape, pins and adhesive dots that are acid free. I like the Zots brand.
Step 3. Plan and arrange your design.
Make sure you do this before you attach anything and give yourself plenty of time to move things around and make them look just right.
Step 4. Attach each item into shadowbox securely.
This may take some testing. Heavier items might need more securing or cleverly placed pins or tape. Programs need to be kept from flopping open. Take your time to ensure that everything is secure. You don’t want anything falling off or moving when you hang the shadowbox.
Step 5. Hang your finished shadowbox.
Pick the perfect location in your home or barn to display your new creation. Hang securely using nails. If you’re area is earthquake prone, use a three point security mount if the box is large and heavy. If it’s not too large or heavy, you can secure the bottom corners using Museum Wax.
Step 6. Enjoy!