Materials:
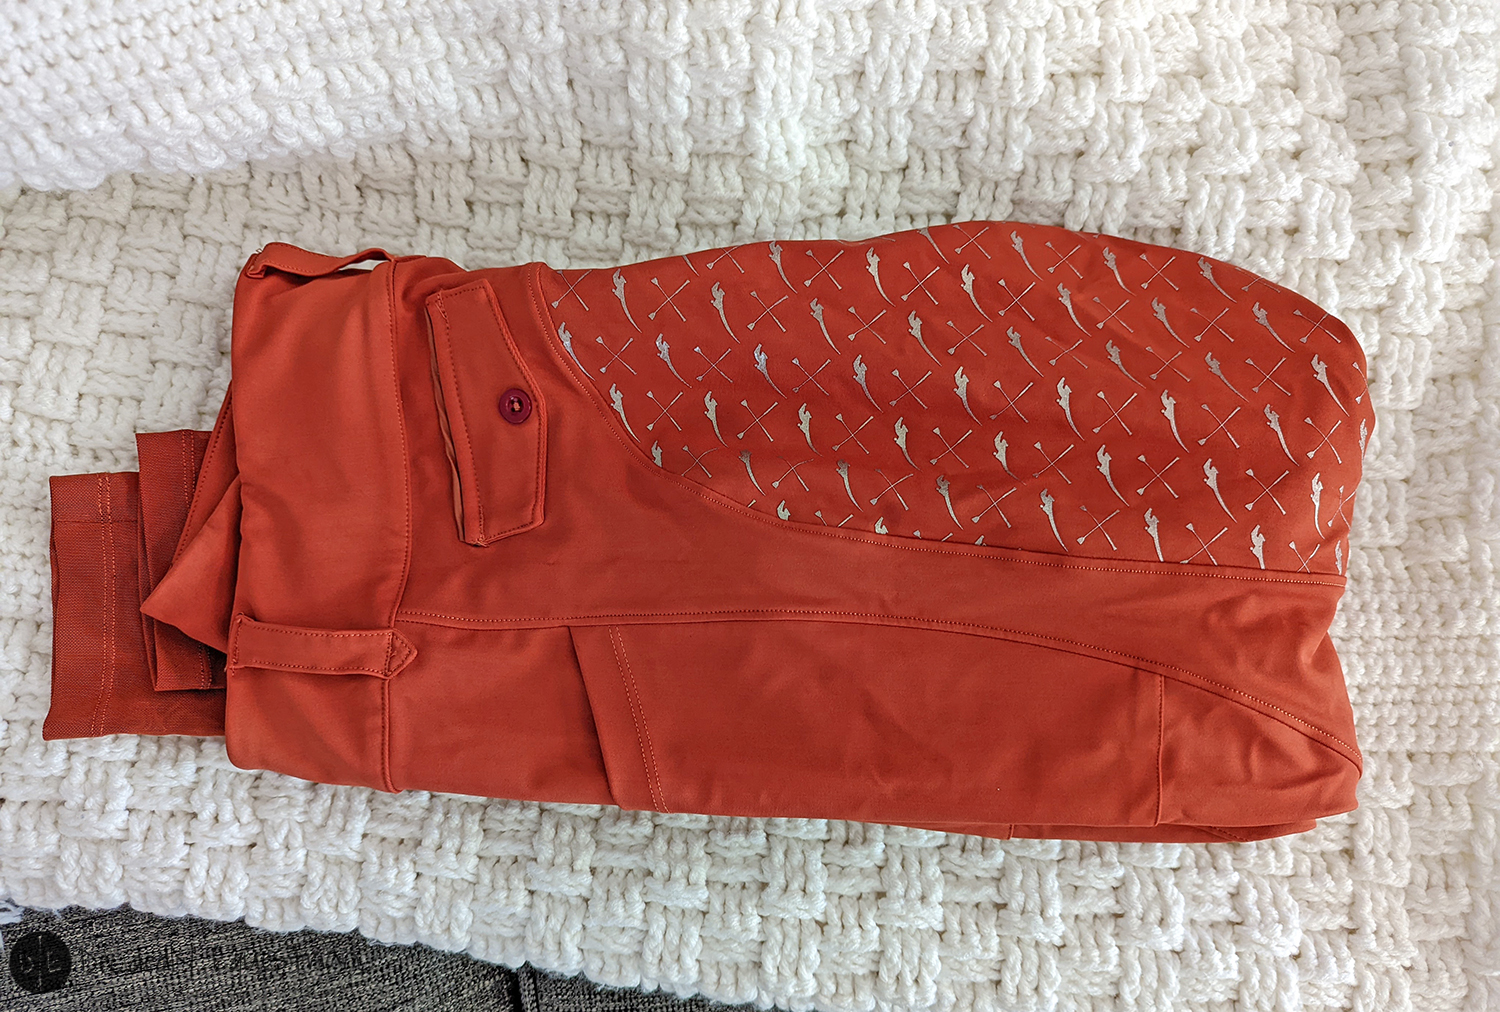
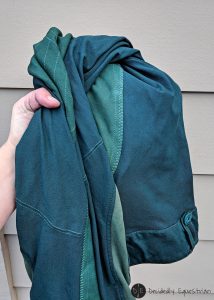
– White or light colored breeches (or jeans!). I used my stained up show breeches from the last two seasons. They still had plenty of riding life…they just weren’t appropriate for showing anymore!
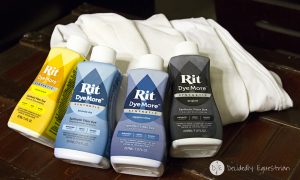
– Fabric Dye of your color choice. Make sure you get the appropriate dye for your materials. Most modern breeches and jeans are made with synthetic materials, so keep that in mind. There are a number of synthetic fabric dyes, but I used RIT DyeMore Synthetics in Kentucky Sky, Sapphire Blue, Daffodil Yellow and Graphite. To get the color I achieved use 1 full bottle of Kentucky Sky, a half bottle of Sapphire Blue, 1/4 bottle of Daffodil Yellow (I wished I had used a tad less to get little bit less green), and a splash of Graphite to darken up the color a bit so it wasn’t so primary. Please feel free to make your own color and share your projects with me!
– Large soup pot. You have to heat the synthetic dye for it to take properly, so be ready to heat this up on your stove
– Large metal mixing spoon.
– Water
– Gloves to prevent staining to your hands
– Access to a stove
– Kitchen Thermometer
– A little free time. At least an hour.
View this post on Instagram
Instructions:
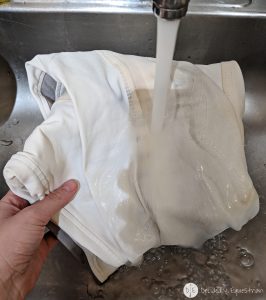
1. Start with clean breeches! This is important. Soak the breeches or dampen under running water. This will help the dye sink in better. Note that the fabric content of your breeches will affect the dye job. Spandex doesn’t die…so high % spandex will show faint lines from not dying (though it’s impossible to see from far away).
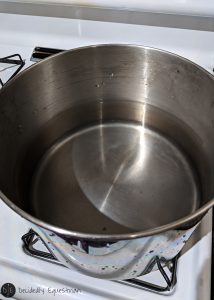
2. Fill your pot with water about 1/2 full. Helpful hint: stick your damp breeches in to test water dispersal to check how much water you should heat and turn on the stove. You don’t want to heat up too much and have spill over later. You want enough water to cover the breeches and heat the water to 180 degrees. Check the instructions on your specific dye package to get correct temperatures for dye. You will need at least one full bottle of dye for this project, most likely more depending on how thick your fabric is (and how much water you have to use). The more dye you use in less water, the bolder your color will be.

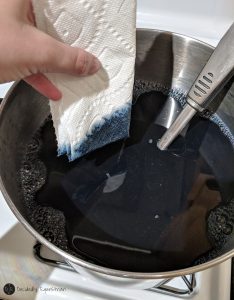
3. Once the water is to 180 degrees you want to keep it this temperature (just under boiling) for this whole process. Add your dye and stir in with your metal spoon. To check the color, use a paper towel to dip into the mixture. Remember that the wet color is going to appear much darker than the final color, so get the right color value that you want and imagine it about half as light and you’ll be about there. Add more dye as necessary to get to the color you want. I played with my color measurements for probably 10-15 before it was the color I wanted – a nice teal.
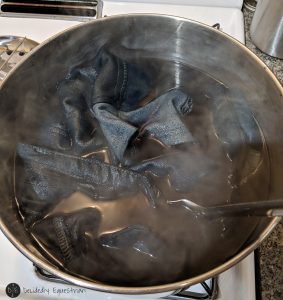
4. Completely immerse your breeches in the hot water and stir around to make sure that the dye is getting to all parts of your breeches. You will need to stir occasionally and check your temps for somewhere between 15 – 30 minutes. Give yourself more time if dyeing 100% polyester. The longer the breeches soak, the darker the color will be. Please note that fabric will look darker when wet and will dry lighter. Again…stir stir stir. Constantly if possible. That will give a more even dye.
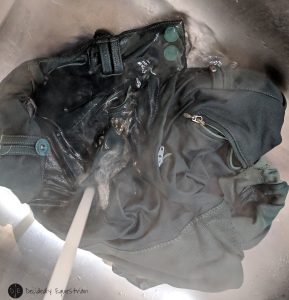
5. Pull your steaming hot breeches out of the dye water (or dump the dye water and breeches into a stainless steel sink (or another surface that won’t dye…be careful where you dispose of your dye)!
6. Rinse, Rinse, Rinse. Start with warm water and then gradually cool water until rinse water starts to run clear. When you’re done, rinse again. You want the dye to stop running from your breeches before you take them anywhere.
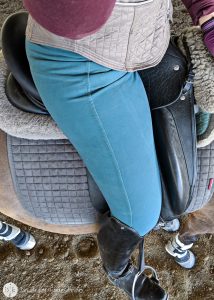
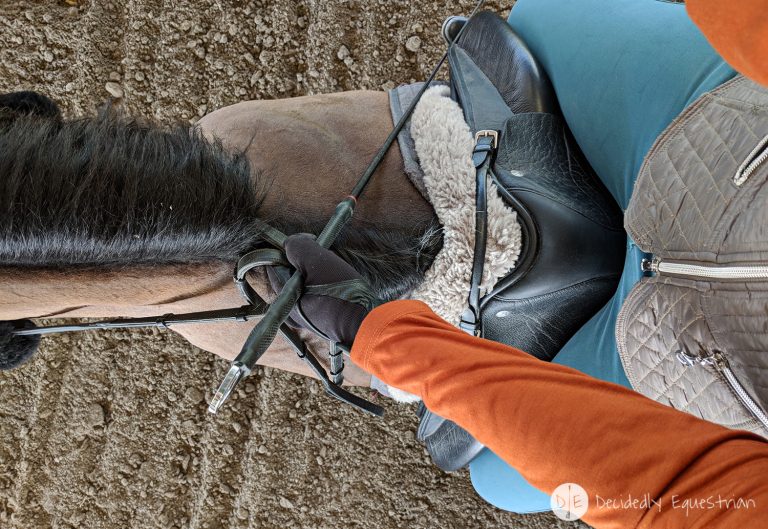
7. Wash your newly dyed breeches alone using mild detergent and cool or warm water cycle (not hot!). Dry in the dryer and they’re ready to wear! Show them off and be ready for compliments on your one of a kind breeches (you can even tie dye them if you want)! Get creative and have fun!
Note: There may be some dye transfer on your skin the first few times you wear them after dying. I did not have this problem, but I can imagine it might happen with darker colors. Also, wash alone for several washes. The dye job will lighten with washing to an extent. Note also, color may or may not turn out the color you intend. Follow dye color instructions (they have a website with color mixing instructions) and don’t stray…even if what’s in the pot doesn’t look right. If you start getting creative with your ratios, the color will come out different than you probably intended. Use less dye for pastel or light colors, more dye for dark. When in doubt, use less dye…you can always redye darker a second time…but once darker you don’t have anywhere to go.